Main » 2011 September 3 » How to lay tile on the floor
20:05 How to lay tile on the floor | |
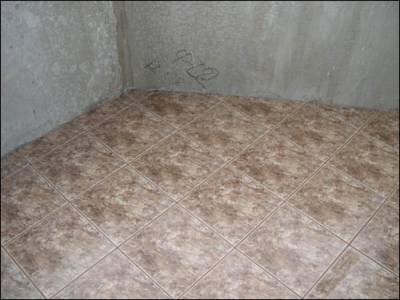
| How put tiles on the floor - with carefully filled and flat buckle is easy. Listen to our advice, and work will bring you only pleasure! It all starts with the marking. So, if you want to start laying the tiles from the wall, then you need to pull the cord from the wall at a distance equal to the width of the tile. In the case of tile "rhombus" - should pull the cord at an angle of 45 ° from the wall adjacent to the corner. In addition, pull cord according to the horizontal level, which greatly facilitates the work. The solution is to lay the tiles on the floor is distinguished by the following composition and proportionality: 4 sand, 1 cement, 2 adhesive tiles. Due to the adhesive for tiles, which acts as a plasticizer, a better solution is grasped with both surfaces and does not settle. Consistency should be thick solution that does not tile prosest under its own weight. How lozhit tiles on the floor - the main thing right lay the first tile! Therefore, when installation of its pay attention to one facet of which is directly under the lace - the lace line and horizontal level should be the same. The second facet is exposed through a small slab level. Beginning has been made and all you have to lay tile in accordance with the height and level of the first tile. Note that a subsequent installation also requires checking the level. It is not necessary to lay the tiles in rows at once, because after finishing one series, his first tile will already hold fast to the solution, which contributes to more easily follow the process of placing rows. Try not to leave voids between the subfloor and tile, especially in places such as corners and edges of tiles, as this can cause damage to mechanical loads. How lozhit tiles on the floor - do not delay further work on the next day, if you have not completed the laying of a series to end. It is worth noting that prirezku tiles perform only after the main floor area is packed. The optimal size of the seam between the tiles consider joint of 2 mm, but if you have tiles of large size, seam during installation you can do more. | |
|
| |
| Section categories | ||||||||||||||||||||||||||
|
| Statistics |
Total online: 1 Guests: 1 Users: 0 |
| Login form |
| Search |
| Calendar | ||||||||||||||||||||||||||||||||||||||||||||||||
| ||||||||||||||||||||||||||||||||||||||||||||||||
